Gemini API Managed Agents 实战指南
深入探索 Google Gemini API 的 Managed Agents,通过 Interactions API 构建自主 AI Agent,实战演示如何创建文件处理、数据分析 Agent。
Gemini API Managed Agents 实战指南
如何使用 Google Gemini API 构建自主 AI Agent?从基础概念到实战代码,手把手教你用 Interactions API 创建可执行任务的智能代理。
什么是 Managed Agents?
传统的软件工作流是预设式的(如 Step A → Step B → Step C),而 Agent 是利用 LLM 动态决定应用控制流的系统,以达成用户目标。
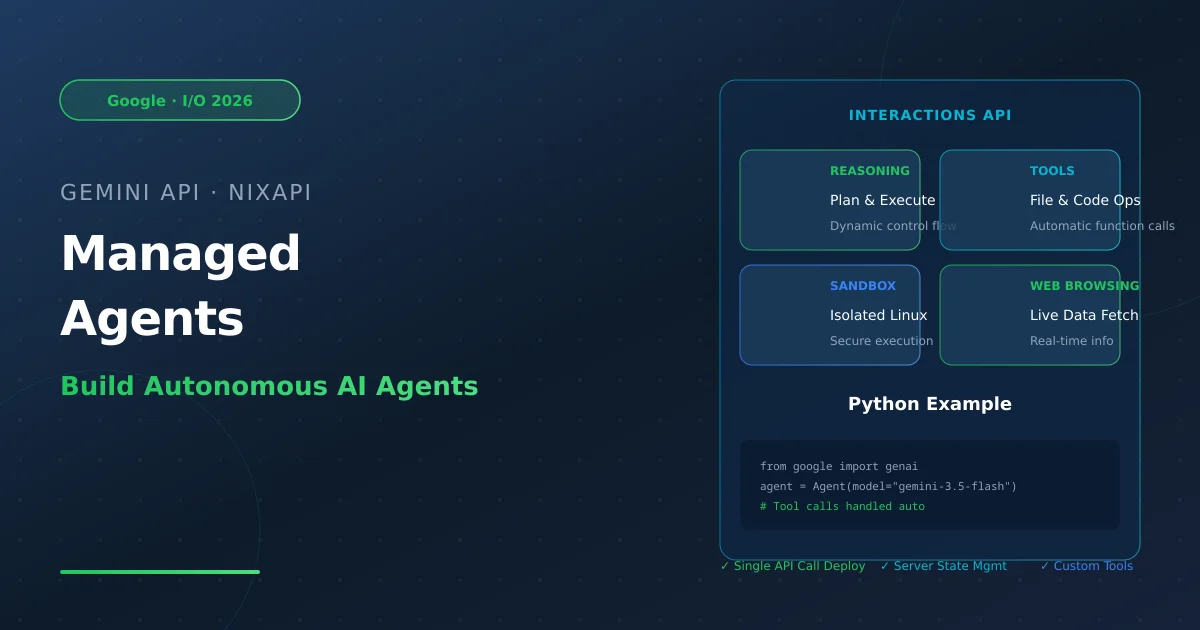
2026年5月,Google 在 I/O 2026 大会上正式发布了 Managed Agents in the Gemini API,让你只需一行 API 调用即可启动一个能够推理、规划、浏览网页和在隔离的 Linux 沙盒环境中执行代码的自主代理。
核心能力:
- 推理与规划:Agent 可以分析复杂请求,制定执行步骤
- 工具调用:自动调用外部函数(搜索、读文件、调用 API)
- 代码执行:在隔离的云端沙盒中运行 Python/Shell 代码
- 网页浏览:获取和处理实时数据
- 会话保持:通过
interaction_id和environment_id在多次调用间保持状态
Interactions API 核心概念
Managed Agents 通过 Interactions API 提供统一接口,核心概念:
| 概念 | 说明 |
|---|---|
interaction_id | 每次交互的唯一标识,用于关联对话 |
environment_id | 沙盒环境的唯一标识,会话级共享 |
previous_interaction_id | 用于链式调用,维持上下文 |
input | 用户输入,支持文本和结构化数据 |
output | Agent 输出,包括文本和函数调用 |
优势:
- 服务端状态管理:无需手动维护对话历史
- 自动思维签名:无需手动管理中间态
- 统一接口:模型和 Agent 使用相同 API
实战:构建 CLI Agent
准备工作
pip install google-genai
设置环境变量:
export GEMINI_API_KEY="your-api-key"
Step 1:基础交互
首先创建一个简单的对话 Agent,使用服务端维护的状态:
from google import genai

class Agent:
    def __init__(self, model: str):
        self.model = model
        self.client = genai.Client()
        self.last_interaction_id = None

    def run(self, contents: str):
        response = self.client.interactions.create(
            model=self.model,
            input=contents,
            previous_interaction_id=self.last_interaction_id
        )
        self.last_interaction_id = response.id
        return response

agent = Agent(model="gemini-3.5-flash")
response = agent.run(contents="德国最值得去的3个城市是哪些?只返回城市名。")
print(f"结果: {response.outputs[-1].text}")
# 输出: Berlin, Munich, Cologne
这还不是真正的 Agent,只是一个保持上下文的聊天机器人。
Step 2:赋予它”手和眼”(工具调用)
要让它成为真正的 Agent,需要定义工具。我们创建三个工具:read_file、write_file、list_dir。
import os
import json

read_file_tool = {
    "type": "function",
    "name": "read_file",
    "description": "读取文件内容并返回。",
    "parameters": {
        "type": "object",
        "properties": {
            "file_path": {"type": "string", "description": "要读取的文件路径"}
        },
        "required": ["file_path"]
    }
}

write_file_tool = {
    "type": "function",
    "name": "write_file",
    "description": "写入内容到文件。",
    "parameters": {
        "type": "object",
        "properties": {
            "file_path": {"type": "string", "description": "要写入的文件路径"},
            "contents": {"type": "string", "description": "要写入的内容"}
        },
        "required": ["file_path", "contents"]
    }
}

list_dir_tool = {
    "type": "function",
    "name": "list_dir",
    "description": "列出目录内容。",
    "parameters": {
        "type": "object",
        "properties": {
            "directory_path": {"type": "string", "description": "要列出的目录路径"}
        },
        "required": ["directory_path"]
    }
}

# 实际实现的函数
def read_file(file_path: str) -> dict:
    with open(file_path, "r") as f:
        return f.read()

def write_file(file_path: str, contents: str) -> bool:
    with open(file_path, "w") as f:
        f.write(contents)
    return True

def list_dir(directory_path: str) -> list[str]:
    full_path = os.path.expanduser(directory_path)
    return os.listdir(full_path)

file_tools = {
    "read_file": {"definition": read_file_tool, "function": read_file},
    "write_file": {"definition": write_file_tool, "function": write_file},
    "list_dir": {"definition": list_dir_tool, "function": list_dir}
}
最佳实践:使用 description 字段解释何时以及如何使用工具。模型依赖这些描述来决定是否调用工具。
Step 3:闭环(真正的 Agent)
Agent 不是生成一次工具调用,而是生成一系列工具调用,将结果返回给模型,直到任务完成:
from google import genai

class Agent:
    def __init__(self, model: str, tools: dict, system_instruction: str = "你是一个有用的编程助手。"):
        self.model = model
        self.client = genai.Client()
        self.last_interaction_id = None
        self.tools = tools
        self.system_instruction = system_instruction

    def run(self, contents: str | list):
        response = self.client.interactions.create(
            model=self.model,
            input=contents,
            system_instruction=self.system_instruction,
            tools=[tool["definition"] for tool in self.tools.values()],
            previous_interaction_id=self.last_interaction_id
        )
        self.last_interaction_id = response.id

        tool_results = []
        for output in response.outputs:
            if output.type == "function_call":
                print(f"[函数调用] {output.name}({output.arguments})")

                if output.name in self.tools:
                    result = self.tools[output.name]["function"](**output.arguments)
                else:
                    result = "错误:未找到工具"

                print(f"[函数响应] {result}")
                tool_results.append({
                    "type": "function_result",
                    "call_id": output.id,
                    "name": output.name,
                    "result": str(result)
                })

        # 如果有工具调用,将结果返回给模型继续推理
        if tool_results:
            return self.run(tool_results)

        return response

# 创建 Agent ��例
agent = Agent(
    model="gemini-3.5-flash",
    tools=file_tools,
    system_instruction="你是一个有帮助的编程助手。"
)

# 测试
response = agent.run(contents="请列出当前目录下的文件。")
print(response.outputs[-1].text)
运行结果示例:
[函数调用] list_dir({'directory_path': '.'})
[函数响应] ['.venv', 'main.py', 'requirements.txt']
当前目录下包含:.venv, main.py, requirements.txt
恭喜!你刚刚用 Interactions API 构建了第一个可工作的 Agent。
构建数据分析 Agent
除了文件操作,Managed Agents 还能进行复杂的数据分析任务。例如创建一个数据分析 Agent:
data_analysis_tools = {
    "read_csv": {
        "definition": {
            "type": "function",
            "name": "read_csv",
            "description": "读取 CSV 文件并进行基本统计分析。",
            "parameters": {
                "type": "object",
                "properties": {
                    "file_path": {"type": "string", "description": "CSV 文件路径"},
                    "analysis_type": {"type": "string", "description": "分析类型:summary/descriptive/correlation"}
                },
                "required": ["file_path"]
            }
        },
        "function": lambda file_path, analysis_type="summary": (
            pd.read_csv(file_path).describe().to_string()
        )
    },
    "visualize": {
        "definition": {
            "type": "function",
            "name": "create_chart",
            "description": "创建数据可视化图表。",
            "parameters": {
                "type": "object",
                "properties": {
                    "chart_type": {"type": "string", "description": "图表类型:bar/line/scatter/histogram"},
                    "data": {"type": "string", "description": "JSON 格式的数据"}
                },
                "required": ["chart_type", "data"]
            }
        },
        "function": lambda chart_type, data: f"已创建 {chart_type} 图表"
    }
}

data_agent = Agent(
    model="gemini-3.5-flash",
    tools=data_analysis_tools,
    system_instruction="你是一个专业的数据分析师,擅长从数据中发现洞察。"
)
与预置 Agent 集成
Google 还提供了预置的 Managed Agents:
- Antigravity Agent:通用任务处理,支持推理、代码执行、文件操作、网页浏览
- Deep Research:深度研究任务,自动收集和分析网络信息
调用预置 Agent:
from google import genai

client = genai.Client()

# 调用 Antigravity Agent
response = client.interactions.create(
    model="gemini-3.5-flash",
    input="分析 Python 3.13 的新特性,并总结成一份报告。",
    agent="antigravity"
)

print(response.output_text)
最佳实践
- 系统指令要清晰:明确 Agent 的角色和行为模式
- 工具描述要详细:告诉模型何时使用每个工具
- 处理错误情况:添加错误处理和重试逻辑
- 安全第一:不要在工具中执行危险操作
- 成本控制:设置最大迭代次数防止无限循环
总结
Managed Agents 把构建生产级 AI Agent 的复杂性抽象化了,让你专注 于产品体验和 Agent 行为本身。通过 Interactions API:
- 单次调用即可启动带沙盒环境的完整 Agent
- 支持自定义工具和技能
- 服务端状态管理,无需手动维护上下文
- 可扩展性强,可以构���从���单 CLI 到复杂数据分析的各种 Agent
快去试试吧!