Codex CLI Third-Party API Quick Start: auth.json and config.toml Setup
Install Codex CLI locally, configure a third-party OpenAI-compatible API with auth.json and config.toml, and verify terminal coding assistant calls.
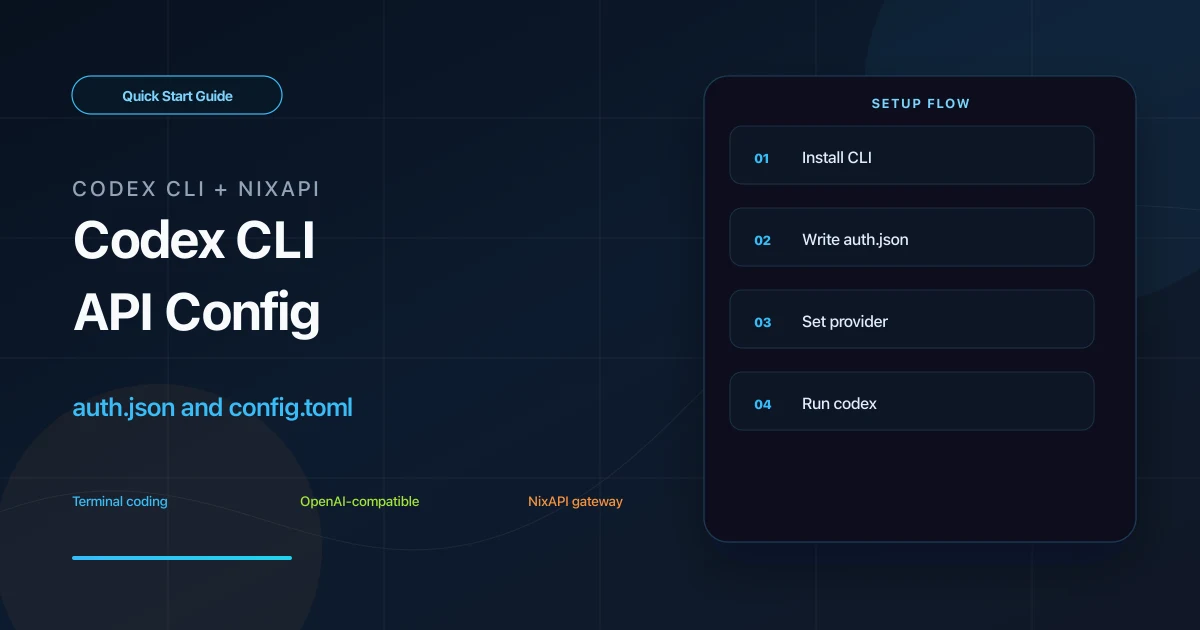
Codex CLI is a terminal-based coding assistant. You can run codex inside a local project and ask it to inspect code, generate patches, explain errors, or perform small refactors.
To route Codex CLI through an OpenAI-compatible third-party API such as NixAPI, create two files in your user directory: auth.json for the API Key and config.toml for the model provider and Base URL.
Prerequisites
Check that your machine has:
- Node.js 22 or later
- npm 10 or later
- Network access to
https://nixapi.com/v1 - A NixAPI API Key
If you do not have a key, create one in the NixAPI console. Copy model names from the NixAPI supported models page to avoid typos.
Windows users should consider WSL or Git Bash for a more predictable terminal experience.
Step 1: Install Codex CLI
macOS / Linux
npm install -g @openai/codex
codex --version
If global installation fails because of permissions, fix your Node.js permissions or temporarily use:
sudo npm install -g @openai/codex
You can also install with Homebrew:
brew install codex
Windows
Install the latest Node.js LTS and Git Bash. Then run:
npm install -g @openai/codex
codex --version
If codex is not found, add the npm global binary directory to PATH, then reopen the terminal.
Step 2: Create the Codex Config Directory
Codex CLI reads from the .codex directory in your user home:
- macOS / Linux:
~/.codex - Windows:
C:\Users\your-name\.codex
On macOS or Linux:
mkdir -p ~/.codex
touch ~/.codex/auth.json ~/.codex/config.toml
On Windows, make sure the files are not saved as auth.json.txt or config.toml.txt.
Step 3: Write auth.json
Open ~/.codex/auth.json and add:
{
  "OPENAI_API_KEY": "nix-your-api-key"
}
Replace nix-your-api-key with your real API Key. Do not add spaces around the key, and do not commit this file into any project repository.
Step 4: Write config.toml
Open ~/.codex/config.toml and add:
model_provider = "nixapi"
model = "gpt-5.4"
model_reasoning_effort = "high"
disable_response_storage = true
preferred_auth_method = "apikey"

[model_providers.nixapi]
name = "NixAPI"
base_url = "https://nixapi.com/v1"
Field notes:
model_providermust match[model_providers.nixapi]modelis the default model used by Codex CLIbase_urlmust behttps://nixapi.com/v1preferred_auth_methodtells Codex to use API Key authdisable_response_storageis a good default for local development
To use another model:
model = "claude-sonnet-4-20250514"
More model IDs are available on the NixAPI supported models page.
Step 5: Start and Verify
Enter any project directory and run:
codex
Try a simple task:
Write a Node.js utility function that parses CSV files and explain the edge cases.
If Codex returns code and explanation, the CLI is calling the model through NixAPI.
Troubleshooting
Invalid auth
Check whether ~/.codex/auth.json is valid JSON and whether OPENAI_API_KEY contains the key from the NixAPI console.
Connection failure
Confirm the Base URL:
base_url = "https://nixapi.com/v1"
You can also test:
curl https://nixapi.com/v1/models \
  -H "Authorization: Bearer nix-your-api-key"
Model unavailable
The model ID does not match the provider’s list. Copy the exact model name from the NixAPI pricing page, then update config.toml.
Do I need to log in to an official OpenAI account?
No. This setup uses API Key authentication through auth.json.
Summary
Codex CLI third-party API setup depends on two files: auth.json for the key and config.toml for the model provider. Once configured, codex can reuse the same NixAPI endpoint in any local project.
Try NixAPI Now
Reliable LLM API relay for OpenAI, Claude, Gemini, DeepSeek, Qwen, and Grok with ¥1 = $1 top-up
Sign Up Free