OpenCode Third-Party API Quick Start: Configure an openai-compatible Provider
Install OpenCode, register a third-party provider in opencode.json, configure baseURL, API Key, and model list, then start AI pair programming in the terminal.
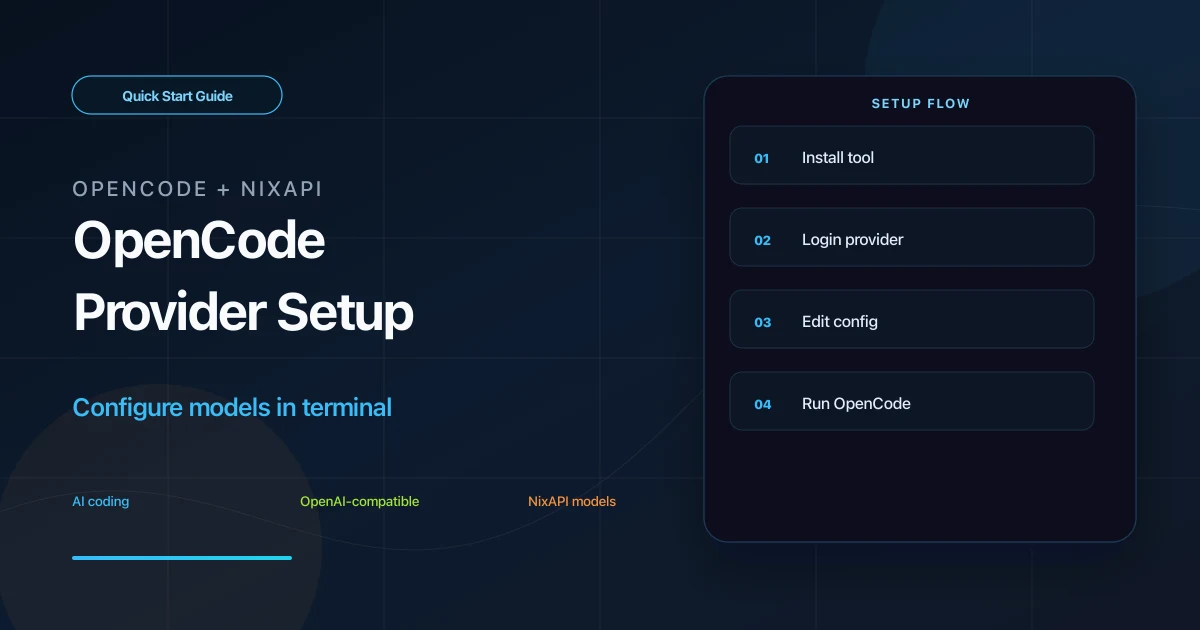
OpenCode is a terminal AI coding tool. It can connect to OpenAI-compatible APIs through provider configuration, so it can also use NixAPI’s multi-model endpoint.
This guide covers three tasks: install OpenCode, register a NixAPI provider, and configure a default model for terminal verification.
Prerequisites
Check Node.js 18 or later:
node -v
Then create a NixAPI API Key in the NixAPI console. Copy model names from the NixAPI supported models page.
Step 1: Install OpenCode
Install with npm:
npm install -g opencode-ai
On macOS or Linux, you can also use:
curl -fsSL https://opencode.ai/install | bash
Verify:
opencode -v
If a version is printed, continue.
Step 2: Register a Custom Provider
Run:
opencode auth login
Follow the prompts:
- Choose
otherfrom the provider list - Enter Provider ID:
nixapi - Enter your NixAPI API Key
Use lowercase letters and numbers for the Provider ID. It must match the config file.
Step 3: Edit opencode.json
The config file is usually:
- macOS / Linux:
~/.config/opencode/opencode.json - Windows:
C:\Users\your-name\.config\opencode\opencode.json
Add or merge:
{
  "$schema": "https://opencode.ai/config.json",
  "provider": {
    "nixapi": {
      "npm": "@ai-sdk/openai-compatible",
      "name": "NixAPI",
      "options": {
        "baseURL": "https://nixapi.com/v1",
        "apiKey": "nix-your-api-key"
      },
      "models": {
        "claude-opus-4-7": {
          "name": "Claude Opus 4.7",
          "limit": {
            "context": 200000,
            "output": 32768
          }
        },
        "claude-sonnet-4-20250514": {
          "name": "Claude Sonnet 4",
          "limit": {
            "context": 200000,
            "output": 16384
          }
        },
        "gpt-5.4": {
          "name": "GPT 5.4",
          "limit": {
            "context": 128000,
            "output": 16384
          }
        }
      }
    }
  },
  "model": "nixapi/claude-sonnet-4-20250514"
}
Key points:
nixapimust match the Provider ID fromopencode auth loginbaseURLishttps://nixapi.com/v1apiKeymust be your real API Key- The top-level
modelformat isprovider-id/model-id
If you prefer not to store the key in the config file, use OpenCode’s auth storage from opencode auth login. The inline version is easier for first-time debugging.
Step 4: Start and Verify
Enter your project:
cd your-project
opencode
Then run:
/models
Confirm that the NixAPI provider models appear. Test with:
Read the current directory structure and write a short explanation for a new contributor.
If it replies normally, OpenCode is calling models through NixAPI.
Add More Models
Add more entries under models, for example:
"deepseek-v4": {
  "name": "DeepSeek V4",
  "limit": {
    "context": 128000,
    "output": 8192
  }
},
"gemini-3-pro-preview": {
  "name": "Gemini 3 Pro Preview",
  "limit": {
    "context": 1000000,
    "output": 8192
  }
}
Adjust context and output limits for the model you use. Model IDs and prices should follow the NixAPI pricing page.
Troubleshooting
Models do not appear
Check that opencode.json is valid JSON. Extra commas and missing quotes are common issues.
401
The API Key is wrong or not loaded. Run:
opencode auth login
or check the apiKey field in config.
404 or connection failure
Confirm:
"baseURL": "https://nixapi.com/v1"
Changes do not apply
Exit and restart OpenCode. Many terminal tools do not reload config files while running.
Cost control
Use a cost-effective model as the default, then switch to stronger models only for complex tasks. Check the NixAPI pricing page. NixAPI currently has a limited-time top-up exchange rate: RMB 0.80 = USD 1.00.
Summary
OpenCode third-party API setup requires a nixapi provider in opencode.json, @ai-sdk/openai-compatible, https://nixapi.com/v1, and a model list. Once configured, OpenCode can use NixAPI models from the terminal.
Try NixAPI Now
Reliable LLM API relay for OpenAI, Claude, Gemini, DeepSeek, Qwen, and Grok with ¥1 = $1 top-up
Sign Up Free