WorkBuddy Third-Party API Quick Start: Configure a Custom Model Endpoint
Add a third-party custom model endpoint in WorkBuddy, enable the model, and verify multi-model chat through an OpenAI-compatible API.
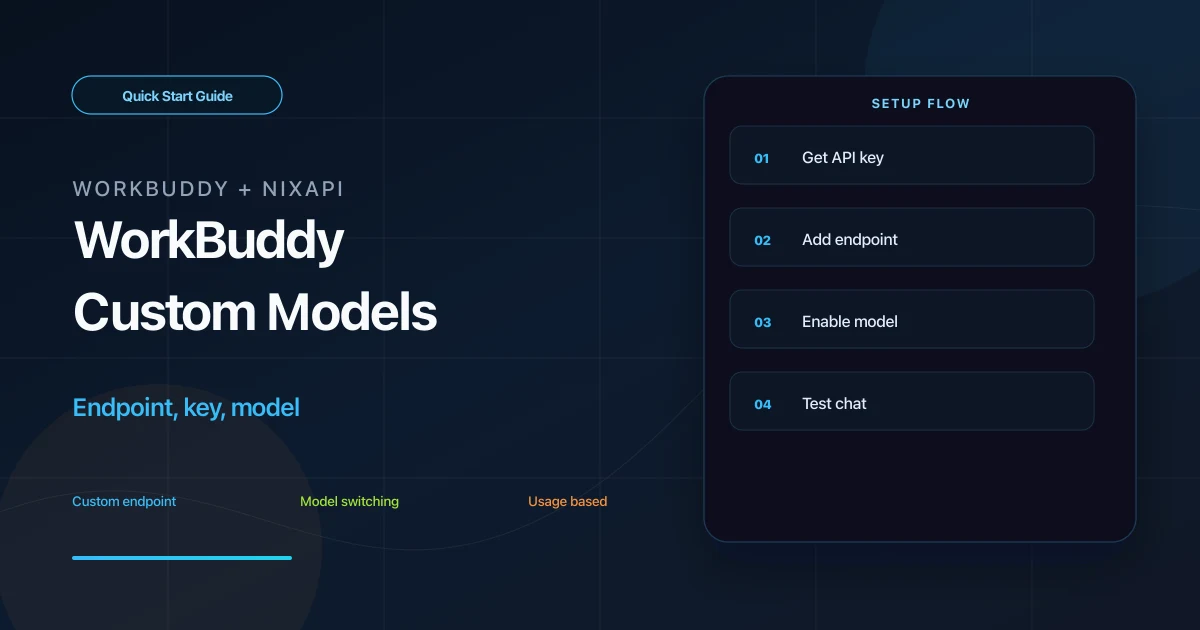
WorkBuddy supports custom model services. By connecting it to an OpenAI-compatible third-party API such as NixAPI, you can use one API Key to call different models and manage usage outside WorkBuddy’s built-in model credits.
This guide covers the shortest working path: create a key, add a custom model, enable it, and test a conversation.
Why Use a Third-Party API in WorkBuddy
WorkBuddy’s built-in model is convenient, but a custom endpoint gives you more control over model choice and cost.
With NixAPI, you can:
- Use one API Key for GPT, Claude, Gemini, DeepSeek, and other models
- Choose different models for different tasks
- Check model prices on the NixAPI pricing page
- Manage keys and balance in the NixAPI console
NixAPI currently has a limited-time top-up exchange rate: RMB 0.80 = USD 1.00. If you use WorkBuddy for long documents or coding tasks, check pricing first.
Step 1: Create a NixAPI API Key
Open the NixAPI homepage, sign in, and create an API Key from the console. A name such as workbuddy helps you identify usage later.
The key is shown only once in full. Save it immediately, and do not paste it into public screenshots, documents, or Git repositories.
Examples below use:
nix-your-api-key
Replace it with your real key.
Step 2: Open WorkBuddy Model Settings
Start WorkBuddy and open the settings panel. Usually you can click the settings icon in the lower-left corner, then open the model settings page.
Scroll to the bottom and look for an entry such as:
- Configure custom model
- Add custom model
- Custom Model
The exact label may vary by version. You need the page that lets you enter an API endpoint and API Key.
Step 3: Fill in the Custom Model
Use the following values:
| Field | Value |
|---|---|
| Provider | Custom |
| API endpoint | https://nixapi.com/v1 |
| API Key | nix-your-api-key |
| Model name | For example, claude-sonnet-4-20250514 |
Recommended model IDs to test:
claude-sonnet-4-20250514gpt-5.4gemini-3-pro-previewdeepseek-v4minimax-m3
The model name must match NixAPI exactly. If you are unsure, copy it from the NixAPI supported models page.
Save the configuration.
Step 4: Enable the Model
After saving the custom model, go back to the model list and enable or check the model you just added.
This step is easy to miss. If the model is saved but not enabled, WorkBuddy may continue using the default model or built-in credits.
Step 5: Test a Message
Send a simple message in WorkBuddy:
Summarize today's work plan in three bullet points.
If you get a response, the custom endpoint is working.
If it fails, test the same key and model with curl:
curl https://nixapi.com/v1/chat/completions \
  -H "Content-Type: application/json" \
  -H "Authorization: Bearer nix-your-api-key" \
  -d '{
    "model": "claude-sonnet-4-20250514",
    "messages": [{"role": "user", "content": "Hello"}]
  }'
If curl works but WorkBuddy does not, check WorkBuddy’s endpoint field and enabled state. If curl also fails, check the key, model name, and account balance.
Troubleshooting
WorkBuddy still consumes built-in credits
Make sure the custom model is enabled in the model list. Saving a model is not always the same as selecting it.
API Key is invalid
Confirm that the key comes from the NixAPI console and has no extra spaces.
Model does not exist
Copy the model ID from the NixAPI supported models page. Do not guess the name.
Can I add multiple models?
Yes. Repeat the same process with different model names. A practical setup is one stronger model for complex tasks and one lower-cost model for daily work.
Summary
WorkBuddy custom model setup depends on three values: https://nixapi.com/v1, a valid API Key, and an exact model ID. Once enabled, WorkBuddy can call multiple models through the same third-party API workflow.
Try NixAPI Now
Reliable LLM API relay for OpenAI, Claude, Gemini, DeepSeek, Qwen, and Grok with ¥1 = $1 top-up
Sign Up Free